This DIY Face Oil Leaves Your Skin Glowing Instantly
If you’re looking for an effortless way to achieve radiant skin, this DIY face oil might be just what you need. With a blend of nourishing oils, it hydrates deeply and gives your complexion a luminous glow almost instantly. Imagine creating a product tailored to your skin’s specific needs, without the hefty price tag of store-bought alternatives. Curious about how to whip up this transformative potion? Let’s explore the essential ingredients and the simple steps to get you started.
Key Takeaways
- DIY face oils provide improved hydration, leading to instantly glowing skin through nourishing oils tailored to your skin’s needs.
- Incorporating ingredients like argan oil and rosehip enhances skin elasticity and radiance, promoting a healthy glow.
- Essential oils such as lavender not only add a pleasant scent but also provide soothing properties for the skin.
- The application method, including gentle tapping, maximizes absorption for an immediate glowing effect.
- Using dark glass bottles for storage protects the oil’s potency, ensuring you maintain its benefits for vibrant skin.
Benefits of DIY Face Oil
DIY face oil offers a multitude of benefits that can transform your skincare routine.
You’ll enjoy incredible skin benefits, such as improved hydration, a radiant glow, and reduced inflammation.
By customizing your oil blend, you target your specific skin concerns, ensuring optimal results.
Plus, making your own face oil leads to significant cost savings compared to pricey store-bought options.
You’ll find that a few high-quality ingredients yield a luxurious product without breaking the bank.
Embrace the satisfaction of knowing exactly what’s in your skincare, while pampering your skin with nourishing oils that deliver real, visible results. Additionally, using natural ingredients not only enhances the effectiveness of your DIY face oil but also minimizes the risk of irritation often associated with synthetic additives.
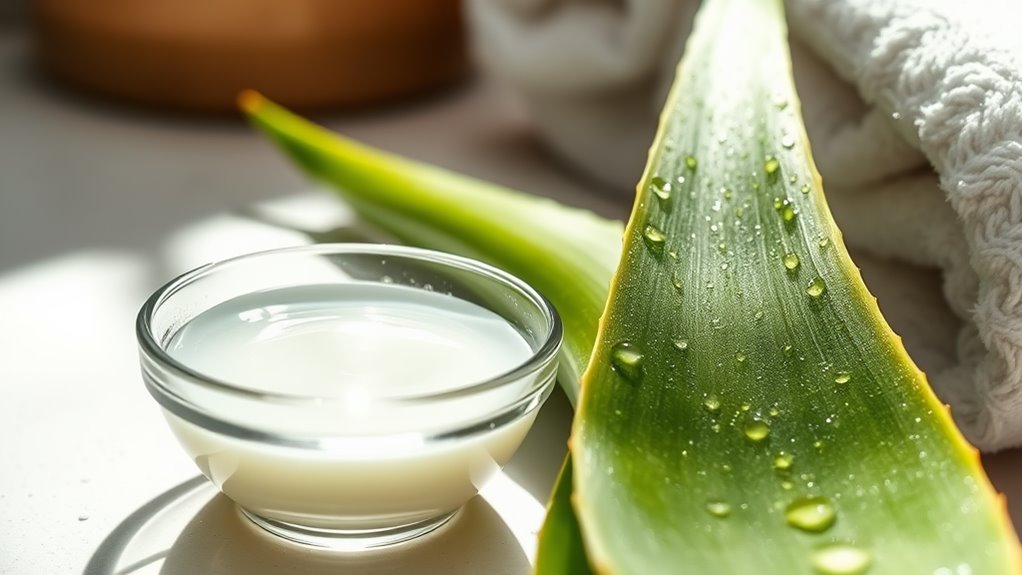
Essential Ingredients for Glowing Skin
Creating a radiant complexion starts with the right ingredients in your face oil.
Incorporate exotic extracts like argan oil or maracuja oil, which are packed with antioxidants and fatty acids, enhancing your skin’s natural glow.
Look for nutrient profiles rich in vitamins A, C, and E to nourish and protect your skin.
Oils like rosehip and jojoba offer hydration while promoting elasticity.
Lavender or ylang-ylang can add a soothing scent and calming properties. Additionally, including science-backed superfoods can further enhance your skin’s health and appearance.
Step-by-Step Recipe for Your Face Oil
Now that you know the essential ingredients for glowing skin, it’s time to put them together into your own face oil.
You’ll learn the best mixing techniques to ensure a perfect blend, as well as tips on how to apply it for maximum benefits. Incorporating natural ingredients that have anti-aging properties will further enhance the effectiveness of your face oil.
Let’s get started on creating your personalized skincare treasure!
Essential Ingredients Needed
Crafting your own face oil is a rewarding experience that allows you to personalize your skincare routine.
To create a luminous blend, gather these essential ingredients:
- Carrier Oil (e.g., jojoba, sweet almond) – Your base oil, rich in nutrients.
- Essential Oils (e.g., lavender, tea tree) – Add beneficial properties and fragrance.
- Vitamin E Oil – Acts as a powerful antioxidant, preserving freshness.
- Botanical Extracts (e.g., rosehip, calendula) – Provide extra nourishment and healing.
For ingredient alternatives, consider sourcing strategies like local markets or online suppliers.
To find the best quality at an affordable price.
Mixing Techniques Explained
When it comes to mixing your face oil, the process is both straightforward and enjoyable.
Start by measuring your carrier oils and essential oils accurately—this helps avoid technique errors that could affect your oil’s effectiveness.
Next, use mechanical mixing for a smooth blend; a small whisk or dropper bottle can work wonders.
Pour your oils into a clean container, then mix gently but thoroughly to ensure even distribution.
Remember to avoid over-mixing, as this can introduce air bubbles.
Once combined, your DIY face oil is ready to work its magic on your skin, leaving you glowing!
Application Tips Provided
To achieve the best results with your DIY face oil, follow these simple application tips that will enhance your skincare routine:
- Cleanse: Start with a clean face to maximize absorption.
- Warm: Rub a few drops of oil between your palms to warm it up, activating its properties.
- Apply: Gently press the oil onto your skin using your fingertips, focusing on dry areas.
- Frequency Advice: Integrate this oil into your routine 2-3 times a week for optimal hydration and glow.
How to Apply Face Oil for Best Results
Before you apply your DIY face oil, make sure to cleanse your skin thoroughly to remove any dirt or impurities.
Once your face is fresh, use a gentle tapping motion to apply the oil, allowing it to absorb deeply and evenly.
This method not only enhances absorption but also promotes circulation for a healthy glow. Additionally, certain essential oils, like lavender oil, can provide soothing benefits that complement the moisturizing effects of the face oil.
Cleanse Your Face First
Cleansing your face is a crucial first step in your skincare routine, especially when you’re ready to apply face oil for maximum benefits.
A proper daily cleanse ensures your skin’s hygiene is on point, allowing the oil to penetrate effectively.
Follow these steps for best results:
- Start with a gentle cleanser that suits your skin type.
- Massage the cleanser in circular motions to remove dirt and impurities.
- Rinse thoroughly with lukewarm water.
- Pat your face dry with a clean towel.
Use Gentle Tapping Motion
Gently press the face oil into your skin using a tapping motion for optimal absorption and effectiveness.
Imagine a tapping meditation, where each touch soothes and revitalizes your complexion.
Use your fingertips, mimicking a piano technique, to create a rhythmic pattern across your face.
This gentle tapping not only enhances circulation but also encourages deeper penetration of the nourishing oils.
Start at your forehead, moving across your cheeks, and finish at your chin.
Storage Tips for Your DIY Face Oil
Proper storage of your DIY face oil is crucial to maintaining its potency and prolonging its shelf life.
Here are some essential tips to keep in mind:
- Use Dark Glass Bottles: Protect your oil from light exposure, which can degrade its quality.
- Store in a Cool, Dry Place: Heat and humidity can cause oils to spoil faster.
- Label Your Bottles: Include the date of creation for effective expiration tracking.
- Travel Storage: If you’re on the go, consider smaller bottles to prevent spills and maintain freshness.
Additionally, remember that natural anti-aging remedies can further enhance your skincare routine and provide lasting benefits.
Following these tips ensures your skin oil remains effective and radiant.
Additional Tips for Radiant Skin
While using a DIY face oil can do wonders for your skin, incorporating additional practices can elevate your skincare routine and enhance your radiance.
Start by following nutritional advice that includes plenty of fruits, vegetables, and healthy fats, which nourish your skin from within. Including daily superfoods in your diet can further boost skin health and vitality.
Hydration is key—drink plenty of water throughout the day.
Don’t underestimate the power of sleep hygiene; aim for 7-9 hours of quality sleep each night to allow your skin to repair and rejuvenate.
Finally, establish a consistent skincare routine, and always protect your skin with sunscreen.
These practices combined will leave you glowing effortlessly.