Reverse Wrinkles Naturally With This Powerful DIY Cream!
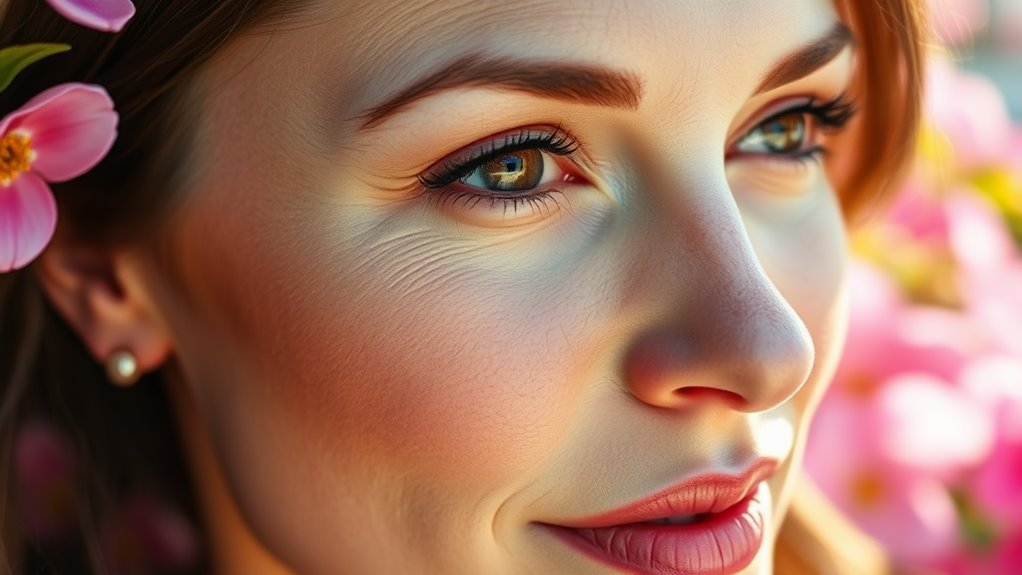
If you’re looking for a way to combat those fine lines and wrinkles naturally, you’ve come to the right place. This DIY cream harnesses the power of nourishing ingredients to improve skin elasticity and promote a youthful glow. You’ll find it easy to whip up and incorporate into your nightly routine. Curious about what’s inside and how to make it? Let’s explore the recipe and its benefits next.
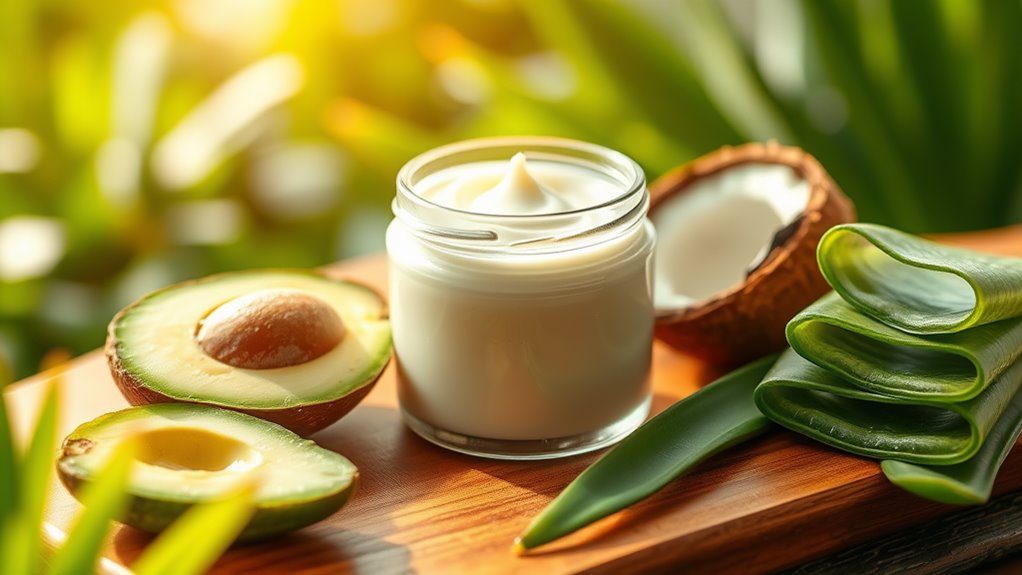
Essential Ingredients for Your DIY Anti-Aging Cream
Creating an effective DIY anti-aging cream starts with choosing the right ingredients. When you’re on the quest for the best anti-aging DIY wrinkle remover, look for natural options that nourish and rejuvenate your skin.
Consider incorporating ingredients like coconut oil, which hydrates and promotes elasticity, and shea butter, known for its soothing properties.
Don’t forget vitamin E, a powerful antioxidant that helps combat free radicals and improves skin texture. Adding essential oils, such as lavender or frankincense, not only elevates your cream’s aroma but also enhances its skin-healing benefits. Additionally, incorporating facial exercises into your routine can significantly enhance the effects of your homemade cream by promoting blood circulation and skin firmness.
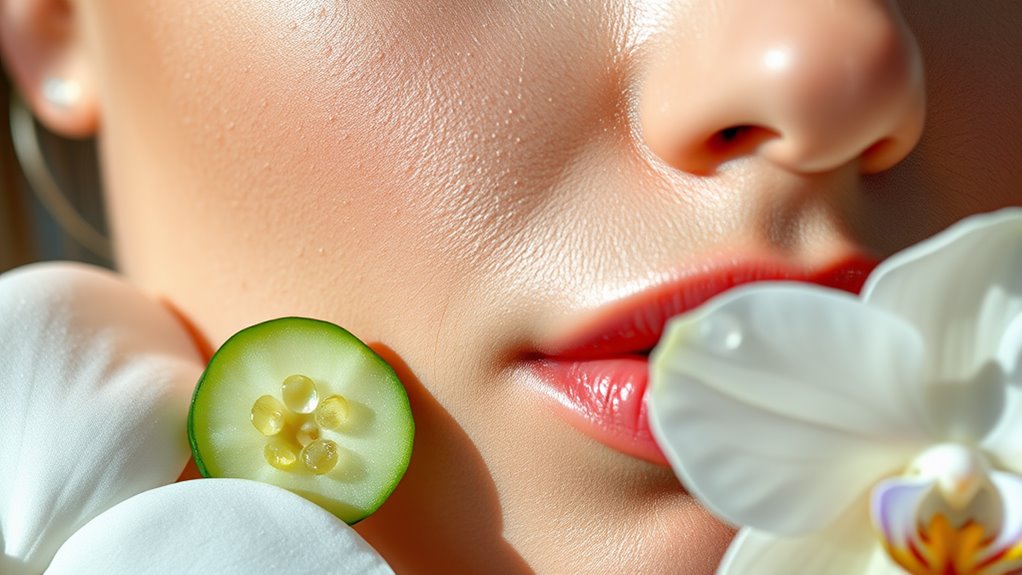
Embrace the soothing qualities of aloe vera, which hydrates while reducing inflammation. Together, these ingredients create a synergistic blend that can fit seamlessly into your skincare routine.
Step-by-Step Recipe to Create Your Cream
To whip up your own DIY anti-aging cream, gather your essential ingredients and follow these straightforward steps.
Start by measuring out one tablespoon of coconut oil, which acts as a fantastic moisturizer. Next, add half a tablespoon of shea butter for its nourishing properties. Melt these two ingredients together in a microwave-safe bowl for about 20 seconds.
Once melted, stir in one teaspoon of vitamin E oil, known for its skin-repairing abilities. For an added boost, mix in a few drops of your favorite essential oil, like lavender or frankincense, for a soothing scent. Incorporating natural ingredients into your skincare routine can enhance the effectiveness of your anti-aging efforts.
After everything’s blended, let the mixture cool slightly. Then, transfer it into a small, clean jar or container. Allow it to set completely at room temperature, and voilà!
You’ve created your very own anti-aging cream. Enjoy the satisfaction of knowing you made something wonderful just for you!
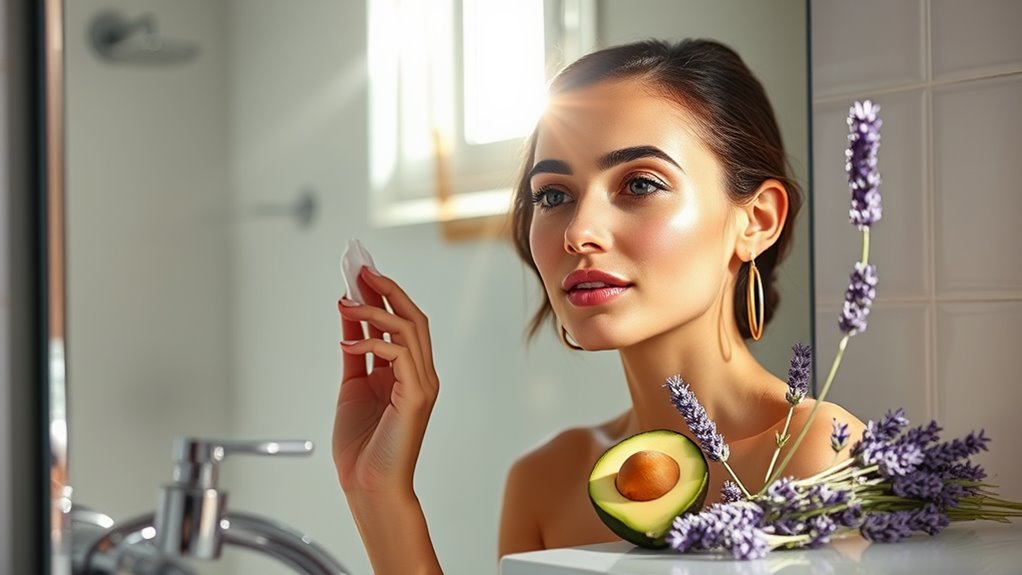
Effective Application Tips for Maximum Results
How can you guarantee your DIY cream delivers the best results? Start by applying it on clean, dry skin—this sets the stage for maximum absorption.
Use gentle, upward strokes to massage the cream into your face and neck, as this not only helps the cream penetrate but also promotes circulation. Don’t rush; take your time, making this a soothing ritual that nurtures both your skin and your spirit.
Consistency is key, so incorporate this cream into your daily routine, ideally at night when your skin repairs itself. You’ll feel a stronger connection to your self-care journey by treating it as a cherished ritual.
Listen to your skin: if it feels irritated or dry, adjust your application frequency or the amount you use. Natural remedies can often enhance the efficacy of your DIY cream, providing additional benefits for your skin.
You’re not alone in this; many share the pursuit of natural beauty. Celebrate every small victory and enjoy the glow of your efforts!