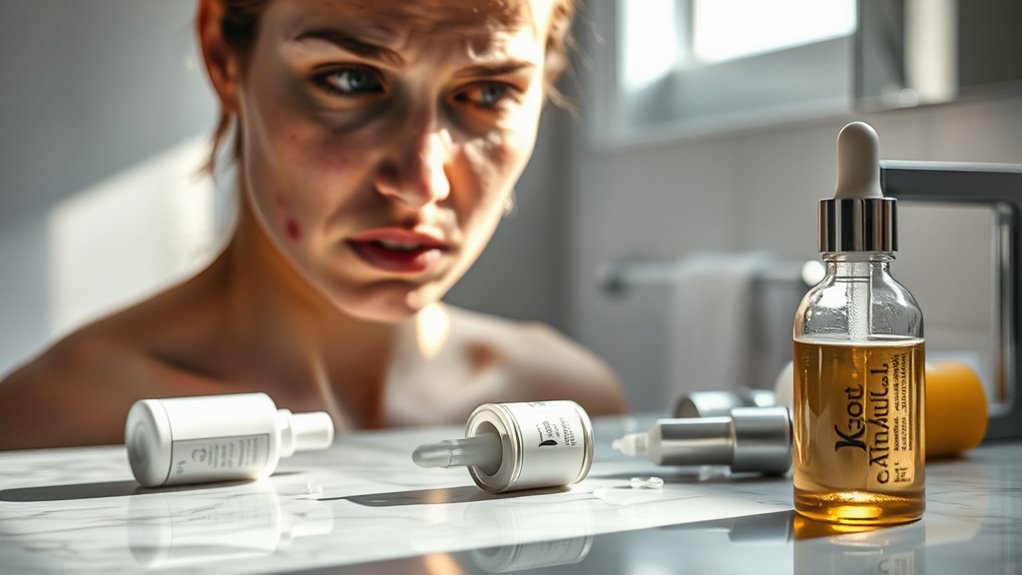
DIY Anti-Aging Serum – Kitchen Ingredients That Outperform Botox
You can easily create a DIY anti-aging serum using kitchen ingredients that rival Botox. Combine honey for hydration, avocado for nourishment, and coffee for its antioxidants. Add a few drops of lavender or frankincense essential oils to enhance skin vitality. This natural blend combats wrinkles and promotes a youthful glow without harsh chemicals. Plus, it’s simple to make! Stick around to discover step-by-step instructions and tips for achieving radiant, youthful skin.
Understanding the Science Behind Aging
As we age, our bodies undergo a complex series of changes that can significantly impact our skin and overall appearance.
Factors like reduced collagen production and increased oxidative stress contribute to visible signs of aging.
To combat this, many turn to homemade anti-aging serum recipes.
These natural solutions can boost hydration and promote skin renewal, giving you a radiant, youthful glow without harsh chemicals.
Key Ingredients From Your Kitchen
Have you ever considered that some of the most effective ingredients for your DIY anti-aging serum might already be sitting in your kitchen?
Embrace these natural wonders to rejuvenate your skin:
- Honey: A natural humectant that hydrates and plumps.
- Avocado: Packed with healthy fats and vitamins for nourishment.
- Coffee: Rich in antioxidants, it brightens and energizes.
- Aloe Vera: Soothes and promotes skin healing.
Incorporating these ingredients can enhance your skin’s barrier function, promoting clearer, healthier skin.
Essential Oils That Boost Skin Vitality
To elevate your DIY anti-aging serum and enhance your skin’s vitality, incorporating essential oils into the mix can make all the difference. These oils not only improve hydration but also promote elasticity and a youthful glow. Check out the table below to discover some powerhouse essential oils and their benefits:
| Essential Oil | Benefits |
|---|---|
| Lavender | Calms and rejuvenates |
| Frankincense | Reduces scars and fine lines |
| Geranium | Balances oily skin |
| Tea Tree | Fights acne |
Additionally, using essential oils as a secret weapon for improving skin health can transform your skincare routine into a nourishing experience.
Step-by-Step Guide to Making Your Serum
Now that you know which essential oils can elevate your skin’s vitality, it’s time to create your own anti-aging serum.
You’ll need to gather some key ingredients and follow simple mixing instructions to bring it all together.
Plus, we’ll cover the best techniques for applying your serum to maximize its benefits. Additionally, using natural wrinkle firming methods can further enhance the effectiveness of your serum.
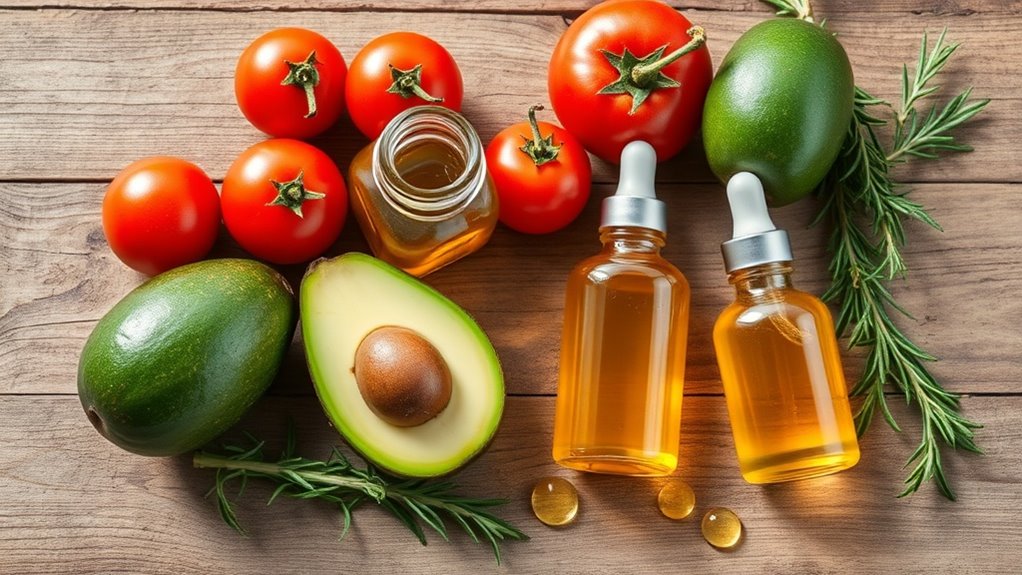
Essential Ingredients Overview
Creating your own anti-aging serum at home is an empowering way to take control of your skincare routine. You’ll harness the incredible benefits of common kitchen ingredients. Here are some powerful components to consider:
- Coconut oil: Hydrates and nourishes skin.
- Avocado: Packed with vitamins for elasticity.
- Honey: Natural antibacterial and humectant.
- Lemon juice: Brightens and rejuvenates complexion.
Get ready to mix and glow!
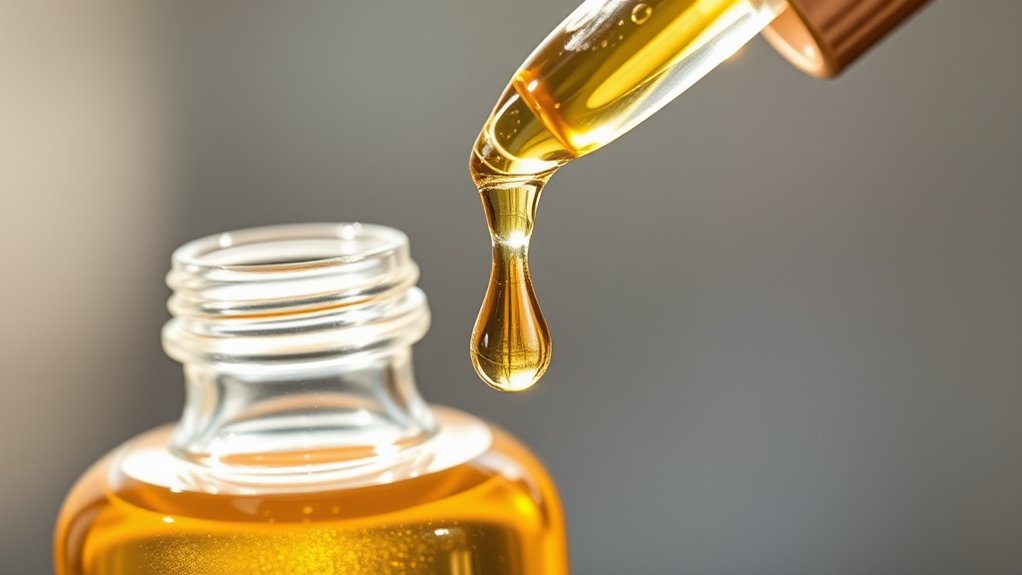
Simple Mixing Instructions
Making your own anti-aging serum is easier than you might think; you just need to follow a few simple steps.
Start by gathering your ingredients in a clean bowl.
Next, measure out each ingredient accurately for the best results.
Mix them together until you achieve a smooth consistency.
Finally, transfer your serum into a dark glass bottle to keep it fresh and effective!
Application Techniques Explained
Once your DIY anti-aging serum is ready, it’s important to apply it correctly to maximize its benefits.
Follow these simple techniques for the best results:
- Cleanse your face thoroughly beforehand
- Use your fingertips to apply the serum gently
- Focus on areas where wrinkles and fine lines are prominent
- Give it time to absorb before applying other products
Enjoy glowing, youthful skin!
How to Apply and Store Your Serum
Applying and storing your DIY anti-aging serum correctly can significantly enhance its effectiveness and longevity. Use clean hands to apply, massaging gently into your skin. Store your serum in a cool, dark place to protect its ingredients. Additionally, for best results, make sure to store your serum in an airtight container to avoid contamination.
| Application Tips | Storage Tips |
|---|---|
| Cleanse first | Use an amber bottle |
| Apply nightly | Keep away from sunlight |
| Massage in upward motions | Refrigerate for freshness |
| Allow absorption | Seal tightly to prevent contamination |
Real Results: User Experiences and Testimonials
Many users have discovered remarkable improvements in their skin after incorporating a DIY anti-aging serum into their routine.
They’ve experienced smoother texture, reduced fine lines, and a radiant glow.
- Enhanced hydration and plumpness
- Brighter complexion and even tone
- Fewer breakouts and blemishes
- Increased confidence in their skin
These testimonials highlight the potential of kitchen ingredients in achieving youthful, vibrant skin naturally. Additionally, using natural oils rich in antioxidants can significantly enhance the serum’s effectiveness.
Additional Tips for Glowing Skin
To achieve that coveted glow, you’ll want to adopt a holistic approach beyond just your DIY anti-aging serum.
Stay hydrated by drinking plenty of water, as it plumps your skin. Incorporate antioxidant-rich foods like berries and leafy greens into your diet. Aiming for 7-9 hours of quality sleep nightly can also significantly impact your skin’s appearance. Don’t forget sunscreen to protect against UV damage. Regular exercise increases blood flow and enhances your skin’s natural radiance.