This DIY Facial Serum Works Better Than Store-Bought!
You can create a DIY facial serum that’s tailored to your skin’s unique needs, using fresh, potent ingredients like essential oils and base oils for superior efficacy and fewer synthetic chemicals. It’s cost-effective, promotes sustainability, and delivers higher potency without stabilizers, potentially outperforming commercial options. As you explore the details on ingredients and techniques, you’ll uncover ways to customize and optimize your skincare routine for even better results.
Key Takeaways
- DIY facial serums use tailored ingredients to address specific skin needs, outperforming generic store-bought options.
- Homemade serums minimize exposure to synthetic chemicals, reducing potential irritation compared to commercial products.
- Fresh ingredients in DIY blends maintain higher potency and efficacy than stabilized store-bought versions.
- Customizing your serum allows for better results by matching your skin type, unlike one-size-fits-all commercial formulas.
- DIY serums promote sustainability through reduced packaging waste, making them a more eco-friendly alternative to store-bought ones.
Benefits of Homemade Facial Serum
Making your own facial serum lets you tailor ingredients to your skin’s needs, offering benefits like reduced exposure to synthetic chemicals and potential cost savings. Additionally, incorporating essential oils from natural remedies can help combat wrinkles and promote youthful skin through preventive skincare habits.
With a diy facial serum, you’re empowering yourself to create formulations that align precisely with your skin type, minimizing risks of allergies or sensitivities often found in commercial products.
Research indicates that homemade options can maintain higher potency, as you avoid stabilizers that degrade over time in store-bought versions. This personalization enhances efficacy, allowing you to address concerns such as dryness or dullness more effectively.
Moreover, you’re promoting sustainability by reducing packaging waste and supporting eco-friendly practices, all while fostering a deeper understanding of your skincare routine for long-term skin health.
Additionally, by incorporating kitchen ingredients as featured in various recipes, you can benefit from scientifically proven effects that rival those of expensive commercial products.
Key Ingredients for Your DIY Blend
When you create your DIY facial serum, selecting the right essential oils forms the foundation for targeted benefits like hydration or anti-aging. For instance, incorporating vitamin E into your blend can provide powerful anti-aging effects by protecting the skin from damage.
You’ll also choose base oils that suit your skin type, ensuring a stable and nourishing blend.
Finally, explore natural additives to enhance efficacy, such as antioxidants or vitamins for optimal results.
Furthermore, by incorporating vitamins from hair care inspirations, you can extend the serum’s benefits to support healthy hair growth for overall wellness.
Essential Oils Selection
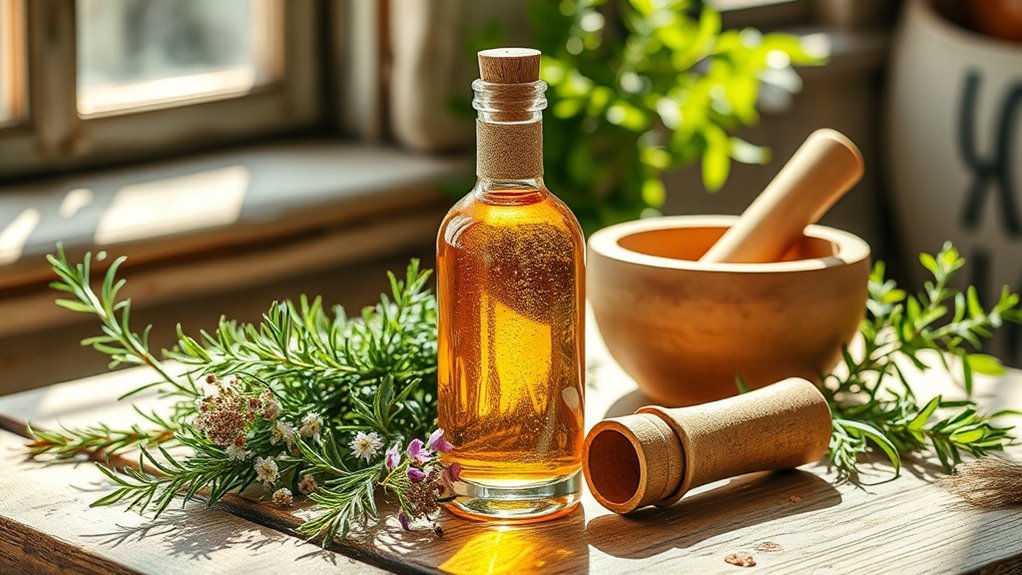
Selecting the right essential oils is crucial for crafting an effective DIY facial serum, as these potent plant extracts provide targeted benefits like anti-aging or soothing effects.
You’ll need to prioritize high-quality, pure oils from reputable sources to ensure safety and efficacy; look for third-party testing to verify composition.
For instance, choose lavender oil if you’re addressing inflammation, as its linalool content offers calming, anti-irritant properties. Tea tree oil, with its terpinen-4-ol, targets acne-prone skin by reducing bacteria and sebum.
Always consider your skin type—oils like frankincense can boost elasticity for mature skin, while chamomile suits sensitive types with its anti-inflammatory bisabolol.
Dilute properly to avoid sensitization; start with 1-2% concentrations. By matching oils to your needs, you’ll maximize serum results while minimizing risks.
Research interactions and patch-test first for optimal outcomes.
Base Oils Choices
Base oils serve as the essential foundation for your DIY facial serum, carrying essential oils while delivering hydration and nutrients to your skin.
You’ll want to choose base oils that match your skin type, ensuring they absorb quickly and provide targeted benefits without clogging pores. Opt for cold-pressed, high-quality options to maintain purity and efficacy.
-
Jojoba Oil: Balances oil production, suits acne-prone skin with its non-comedogenic properties.
-
Argan Oil: Rich in antioxidants and vitamin E, it repairs dry or aging skin effectively.
-
Sweet Almond Oil: Light and nourishing, it soothes sensitive skin with essential fatty acids.
-
Grapeseed Oil: High in linoleic acid, it’s perfect for oily skin, offering fast absorption.
-
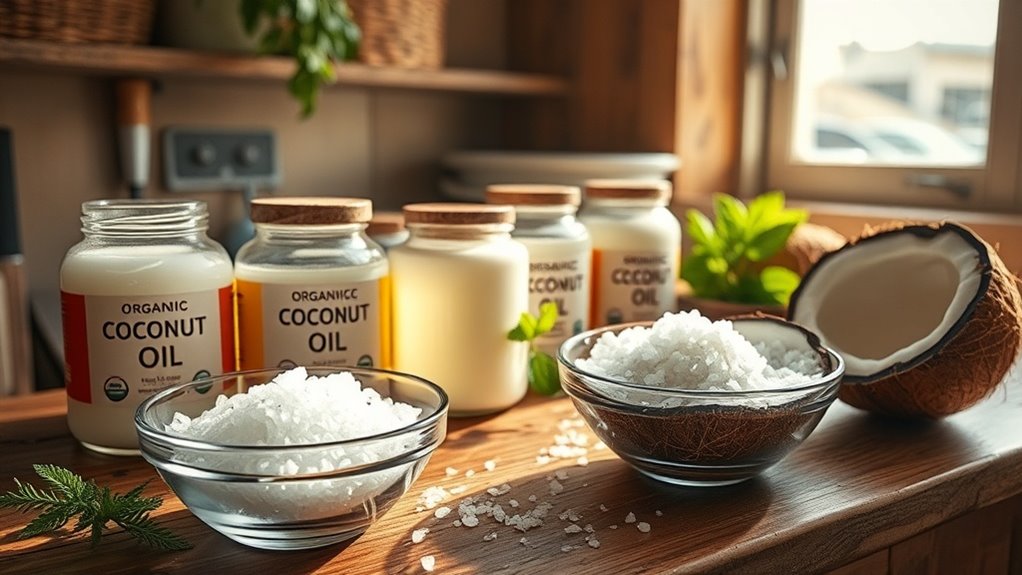
Coconut Oil: Provides deep moisturization, though it’s best for normal to dry skin types.
Natural Additives Options
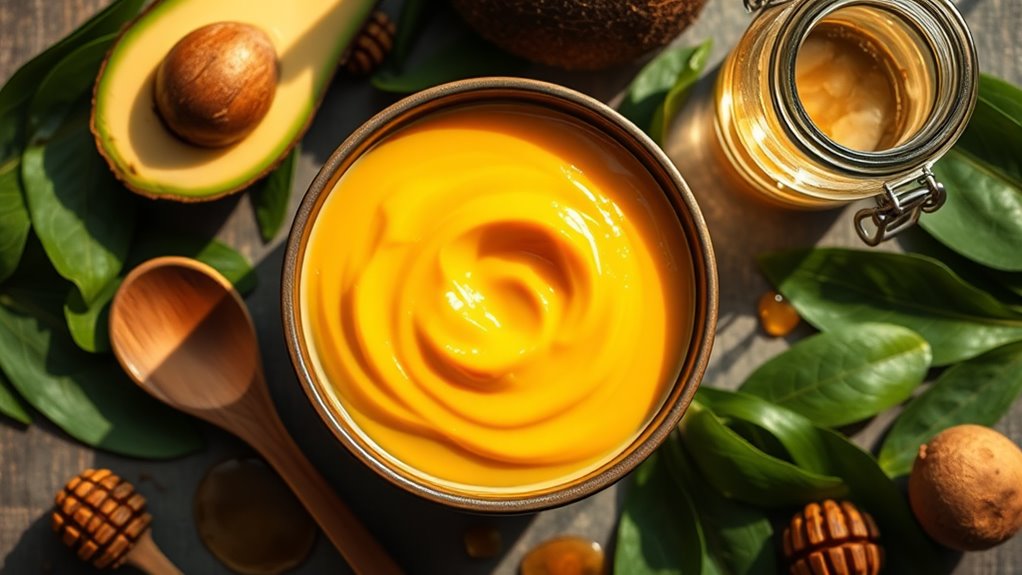
To elevate your DIY facial serum beyond its base oils, you’ll incorporate natural additives—such as essential oils, vitamins, and botanical extracts—that target specific skin concerns while boosting efficacy.
Essential oils like tea tree combat acne through antimicrobial action, while lavender calms inflammation. Vitamins, such as C for brightening and E for antioxidant protection, enhance resilience against environmental stressors.
Botanical extracts, including aloe vera for hydration and green tea for anti-aging, deliver potent polyphenols. When formulating, maintain precise dilutions—typically 1-5%—to avoid irritation, and select based on skin type: hyaluronic acid for dryness, niacinamide for texture.
Always patch test and source pure ingredients to ensure safety and maximize benefits, creating a customized, effective serum without synthetic additives. Research interactions for optimal results.
Simple Steps to Make the Serum
Now that you’ve chosen your key ingredients, it’s time to focus on the simple steps to make your serum.
You start by gathering the necessary ingredients in precise measurements for accuracy.
Next, you mix them thoroughly using a clean tool to ensure a stable and effective blend.
Gather Ingredients
You’ll need just a few key ingredients to craft this effective DIY facial serum.
These components, backed by scientific research, deliver targeted benefits like hydration and antioxidant protection. Select organic, high-purity options to ensure stability and efficacy, minimizing potential irritants.
-
Hyaluronic acid: Enhances moisture retention through its ability to bind water molecules in the skin.
-
Vitamin C powder: Neutralizes free radicals and promotes collagen synthesis for firmer skin.
-
Jojoba oil: Balances sebum production with its non-comedogenic, omega-rich profile.
-
Aloe vera gel: Provides anti-inflammatory compounds to soothe and repair epidermal barriers.
-
Vitamin E oil: Acts as a potent antioxidant to protect against environmental damage.
Mix Serum
Mix the ingredients in this order for a stable, effective serum. Start by pouring the base oil, such as jojoba, into a sterilized glass container. This creates a neutral foundation.
Next, add vitamin E oil drop by drop; it’s an antioxidant that prevents oxidation. Then, incorporate hyaluronic acid powder and stir until fully dissolved—use a glass rod for precision.
Follow with any active ingredients like niacinamide, blending thoroughly to avoid clumps. Finally, include essential oils, such as tea tree, and shake gently for 30 seconds.
This sequence minimizes reactions and maximizes absorption. You’ll achieve a lightweight, non-greasy texture that’s potent and shelf-stable for up to three months.
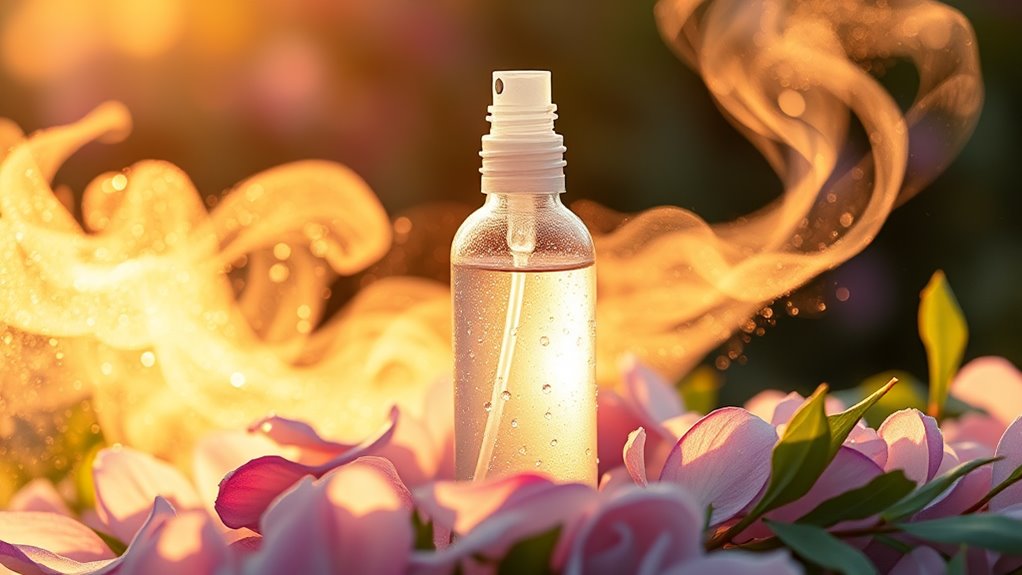
Application Techniques for Optimal Results
To ensure optimal results with your DIY facial serum, apply it using techniques that promote even absorption and minimize waste. This approach enhances skin penetration while preserving the serum’s active ingredients. Proper application maintains efficacy and reduces irritation, drawing on established dermatological practices.
-
Cleanse your face thoroughly to remove debris, ensuring a clean surface for absorption.
-
Dispense a small, pea-sized amount to avoid overuse and promote even coverage.
-
Gently pat the serum onto your skin using clean fingertips, applying light pressure for uniform distribution.
-
Massage in upward, circular motions to stimulate circulation without stretching the skin.
-
Allow the serum to absorb fully for 2-3 minutes before adding other products, maximizing its benefits.
For individuals seeking to address acne concerns, these techniques can help reduce inflammation and promote clearer skin, aligning with effective overnight strategies.
Why DIY Outperforms Commercial Options
While commercial facial serums provide convenience, DIY options deliver superior benefits through fresh ingredients and personalized formulations that you can tailor to your skin’s specific needs, ensuring higher efficacy and reduced risk of irritants.
You control the quality of components, minimizing exposure to preservatives that often compromise commercial products’ potency over time. Research shows that freshly prepared serums maintain active compounds’ stability, leading to better absorption and results, as supported by dermatological studies on ingredient degradation.
Additionally, DIY allows you to adjust concentrations based on your skin type, enhancing targeted benefits like hydration or anti-aging effects without unnecessary additives. This customization empowers you to achieve optimal outcomes, backed by evidence that personalized care outperforms generic solutions in long-term skin health.
Ultimately, you’re investing in a reliable, science-driven approach that prioritizes efficacy and safety. Incorporating medicinal herbs into your DIY serum can provide additional healing benefits derived from nature’s remedies.
For enhanced anti-aging results, consider integrating key active components from natural recipes, such as those for a homemade cream, to fight wrinkles more effectively.
Natural Substitutes for Common Ingredients
When creating your own facial serums, you’ll find that natural substitutes for common ingredients, such as aloe vera for hyaluronic acid or green tea for vitamin C, offer potent alternatives that maintain efficacy without synthetic additives. These methods are designed to promote a youthful glow through natural means.
These plant-based options deliver essential nutrients, enhance skin barrier function, and reduce irritation, making them ideal for sensitive skin types. By selecting these substitutes, you ensure a cleaner formulation that supports long-term skin health.
To incorporate them effectively, consider these key examples:
- Use aloe vera as a natural humectant to lock in moisture and soothe inflammation.
- Opt for green tea extract to provide antioxidants that combat free radical damage.
- Replace synthetic retinoids with rosehip oil for collagen-boosting effects.
- Substitute commercial acids with apple cider vinegar for gentle exfoliation.
- Choose jojoba oil over mineral oil for its balancing, non-comedogenic properties.
Additionally, incorporating superfoods into your daily diet can further enhance skin radiance and collagen production for optimal results.
Storage and Shelf Life Tips
Proper storage ensures your DIY facial serum remains effective and safe. You must keep it in a cool, dark environment, ideally below 70°F (21°C), to minimize oxidation and microbial growth that degrade active ingredients.
Choose an airtight, opaque glass container to block light and air, preserving potency and preventing contamination.
For shelf life, your serum typically lasts 1-3 months, varying by ingredients like oils or extracts. Factors such as exposure to heat or humidity accelerate breakdown, so monitor for signs of spoilage: unusual odors, color changes, or separation.
Refrigerate water-based formulas to extend stability and inhibit bacteria. Always label the bottle with the preparation date, and discard if any doubts arise to avoid skin irritation or ineffectiveness.
Customizing Your Serum Formula
Customizing your serum formula lets you tailor it to your unique skin needs, ensuring optimal results. Incorporating ingredients that support hormonal balance can further benefit skin health by addressing underlying endocrine influences.
You’ll adjust ingredients based on factors like skin type, concerns, and sensitivity, using evidence-based combinations for efficacy. For instance, incorporate antioxidants for anti-aging or salicylic acid for acne, while maintaining a stable pH to enhance absorption and minimize irritation.
To effectively customize your formula:
-
Assess your skin type: Determine if it’s oily, dry, or combination to select appropriate base oils.
-
Choose targeted actives*: Add *vitamin C for brightening or niacinamide for hydration, based on scientific studies.
-
Balance concentrations: Use precise measurements to avoid overuse, ensuring safety and effectiveness.
-
Incorporate natural preservatives****: Include ingredients like tocopherol to extend shelf life without chemicals.
-
Test for compatibility: Patch-test mixtures to prevent adverse reactions, promoting reliable outcomes.
This approach empowers you to create a personalized, high-performing serum.
Additionally, to harness natural anti-inflammatory properties, consider adding turmeric extract for enhanced skin soothing and healing effects.
Everyday Skincare Integration Ideas
Integrating your DIY facial serum into daily routines maximizes its benefits, so you’ll apply it strategically to enhance skin health.
Start by cleansing your face thoroughly, then pat it dry before adding a few drops of serum to damp skin for better absorption. In the morning, layer it under sunscreen to protect against UV damage, boosting antioxidants like vitamin C.
At night, apply post-cleansing to aid cellular repair, followed by a moisturizer to lock in hydration. Track your skin’s response weekly; adjust frequency if irritation occurs, ensuring compatibility with other products.
For oily skin, use it sparingly; for dry types, combine with hydrating agents. This routine promotes barrier function and reduces inflammation, yielding visible improvements in texture and tone over time. Additionally, you can extend these natural benefits to oral care by incorporating a baking soda and lemon juice mixture for effective teeth whitening.
Always perform a patch test first to confirm tolerability.
To enhance your overall routine, explore natural teeth whitening with household ingredients like baking soda and coconut oil.